Ever wanted to convert a video into a GIF?!
Probably not... but I'm going to show you how anyway!
So let's begin,
(Warning, the media on this page comes to 66MB and the majority is of GIF files, your PC may slow down.)
I'll be using the 4k version of Sintel which you can find here:
https://durian.blender.org/news/sintel-4k-dcp/
Any video will do though.
The simplest way to turn a video into a GIF is with the following command:
ffmpeg -i "myVideo.mp4" "myNewGif.gif"But being GIF's this creates a HUGE file in comparison to the video itself.
So let's tone things down a bit, the exact same command, just down-scaling the video so it doesn't turn out so darn large.
ffmpeg -i "myVideo.mp4" -vf scale=360:-1 "myNewGif.gif"Also it's unlikely you'll want the whole video turned into a GIF too, so I'm going to limit it to a 30 second snippet. (I also start 40 seconds in "-ss 40" for the Sintel video, i.e. the good bit)
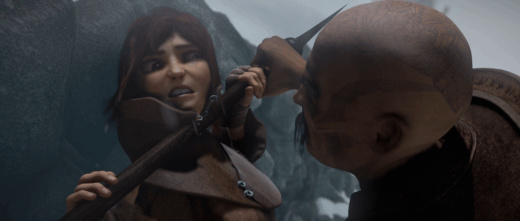
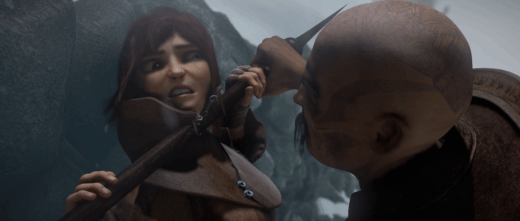
ffmpeg -ss 40 -i "myVideo.mp4" -t 30 -vf scale=360:-1 "myNewGif.gif"The Result
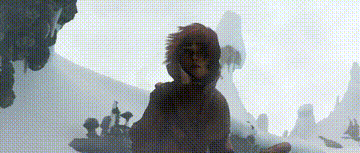
File size: 9.5MB
By now, you're thinking, great, all done!
But oh no my friend, looking at that GIF, while yes, it is a GIF there's no denying that, it's simple; it's lacking colours; it's got that classic dithering... all the signs of an everyday generic GIF!
But I wish for more, I don't approve of that cheap GIF look, I wan't proffesional GIFs, those GIFs that make you go "WOAH that's some serious GIFage"... or maybe not, but you'll soon see!
Now get ready...
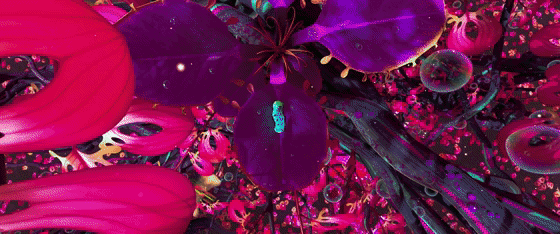
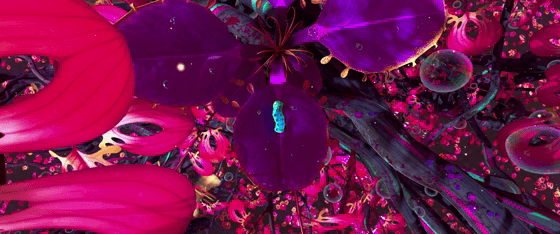
This is a GIF, really it is!
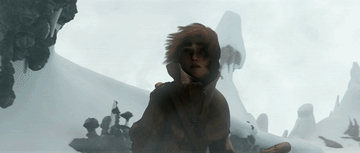
20.1MB, a lot bigger, the side effect of paletted GIFs, while the comparable MP4 is only 1.4MB but it isn't a GIF so we don't care about that!
This witchcraft is the result of making FFmpeg create a new custom palette for the video, as with all GIFs we are limited to 256 colours (not completely accurate, you can find out more at the very bottom), so the palette stores the most used colours from the video to a .png file which is then used to create a more accurate looking GIF.
By default FFmpeg uses a generic palette that tries to cover all the 16.7 million colours we see on our computer screens, the result is what we saw in the first GIF, a little limited, with a lot of dithering.
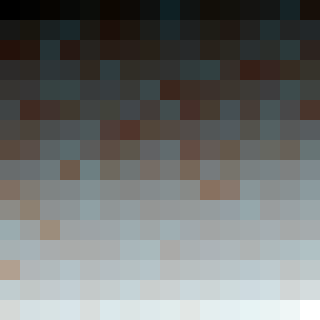
So let's create this palette, we use the filter "palettegen" and can easily fit it into our current command like so, also don't forget to change the video output to a PNG image instead, this will be the palette we use later:
ffmpeg -i "myVideo.mp4" -vf "scale=320:-1,palettegen" -y "palette.png"The Palette FFmpeg Created:
Now to put that palette to use, we need help from the "paletteuse" filter, like so:
ffmpeg -i "myVideo.mp4" -vf "scale=320:-1,palettegen" -y "palette.png"
ffmpeg -i "myVideo.mp4" -i "palette.png" -lavfi "scale=320:-1,paletteuse" -y "myPalettedGif.gif"
Once complete you will end up with something close to the 2nd GIF, the only difference is filtering which we will get to shortly.
If you wish to know the more technical details I recommend heading over to this site:
http://blog.pkh.me/p/21-high-quality-gif-with-ffmpeg.html
It's where I first learnt the power of palletes in FFmpeg.
For more information on paletteuse: https://ffmpeg.org/ffmpeg-all.html#paletteuse
Paletteuse Filter
The paletteuse filter has an option for different dithering techniques, the command is as follows: "paletteuse=dither=sierra2"
So our command would look something like this:
ffmpeg -i "myVideo.mp4" -vf "scale=320:-1,palettegen" -y "palette.png"
ffmpeg -i "myVideo.mp4" -i "palette.png" -lavfi "scale=320:-1,paletteuse=dither=sierra2" -y "myPalettedGif.gif"
The following is an example of the different diffuse options available in FFmpeg:
Bayer 0 ( dither=bayer:bayer_scale=0 )
Bayer 1 ( dither=bayer:bayer_scale=1 )

Bayer 2 ( dither=bayer:bayer_scale=2 )

Bayer 3 ( dither=bayer:bayer_scale=3 )

Bayer 4 ( dither=bayer:bayer_scale=4 )

Bayer 5 ( dither=bayer:bayer_scale=5 )
Floyd Steinberg ( dither=floyd_steinberg )

Heckbert ( dither=heckbert )

Sierra2 ( dither=sierra2 )
Sierra2_4a ( dither=sierra2_4a ) (FFmpeg Default)

I suppose that's it...
So there you have it then, all the required commands and info to make your own incredible GIFs that everyone will love!
This last bit is simply the bat file I use to make my own GIFs, it also includes scaling filters to improve the scaling quality, please take into consideration that it doesn't have any time limits, I'm sure you can add those yourself though after reading through this article, right?
The all-in-one bat file:
@echo off
setlocal EnableDelayedExpansion
set _dir=%~dp0
set _scale=scale=360:-1

:loop
if [%1]==[] goto end

REM Create Palette
"%_dir%ffmpeg" -i "%~dpnx1" -vf "%_scale%:flags=lanczos,palettegen" -y "palette.png"
REM Create Animation
"%_dir%ffmpeg" -i "%~dpnx1" -i "palette.png" -lavfi "%_scale%:flags=lanczos [x]; [x][1:v] paletteuse=dither=floyd_steinberg" -y "%~dpn1_x.gif"

REM Remove the palatte
del palette.png

shift
goto loop
:end

endlocal
echo.
pause
A quick update
Since writing this, I have found new ways of making even higher quality GIFs!
I mean, I would highly recommend .apng or .webp over GIF... but they're just not GIFs so...
Anyway.. while this is very much out of the scope of this article, being able to make super GIFs clearly warrants this newly found information, I will be brief, simply head over to here: https://gif.ski/ have a good read, download the tool there and make some incredibly colourful GIFs!
I wish you luck.
Warning these are large, so either wait a while or just give up!
Made using above process: (Video > FFmpeg)
15.9MB, of course beautifully large...
Made using GIFski: (Video > FFmpeg > PNGs > GIFski)
19.7MB, even larger but just look at those colours and hardly any noticable dithering.
Add a comment
Comments
|
Video to GIF | Test Videos
aysyxqzncp
ysyxqzncp http://www.g07gw8owa834s88a231gb7to0t8g7n4ss.org/
[url=http://www.g07gw8owa834s88a231gb7to0t8g7n4ss.org/]uysyxqzncp[/url]
Written on Tue, 06 Jun 2023 04:02:59 by ysyxqzncp |